
Top brands in Main Studs

Popular cars in Main Studs
- Honda Civic EKMain Studs for the Honda Civic EK: 1 product
- BMW Z3 E36Main Studs for the BMW Z3 E36: 1 product
- Honda Civic EGMain Studs for the Honda Civic EG: 1 product
- Honda Civic EDMain Studs for the Honda Civic ED: 1 product
- Nissan Skyline R32Main Studs for the Nissan Skyline R32: 1 product
- Honda Integra DCMain Studs for the Honda Integra DC: 1 product
- Honda CRX EDMain Studs for the Honda CRX ED: 1 product
- Nissan 350Z Z33Main Studs for the Nissan 350Z Z33: 1 product
Showing 1–48 of 254 resultsSorted by latest
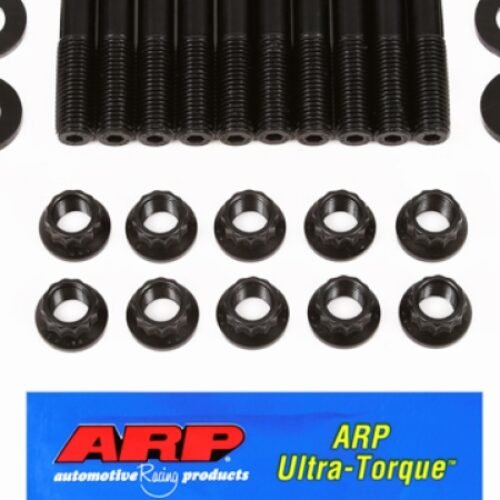
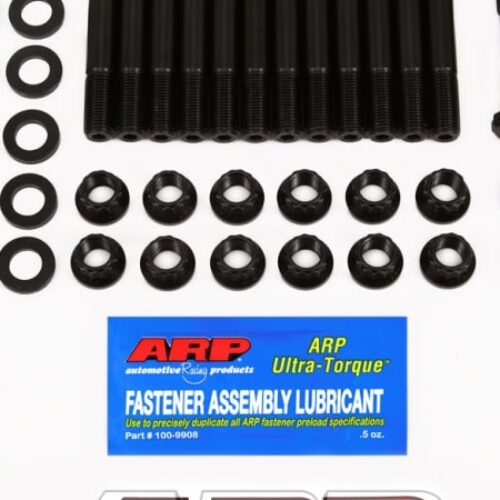
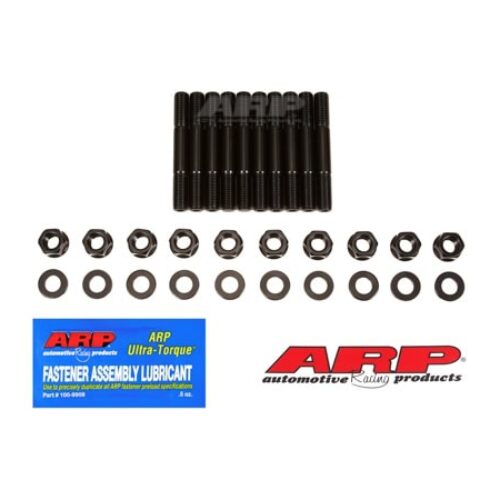
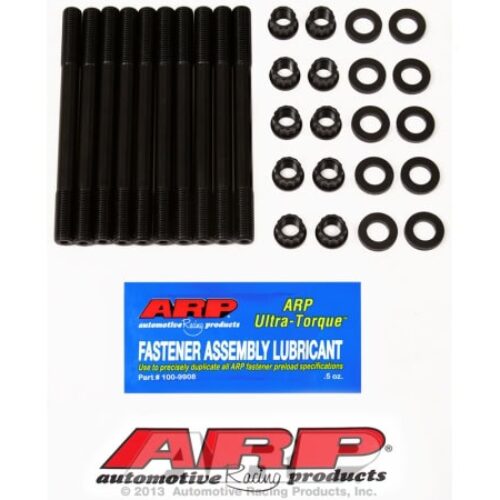
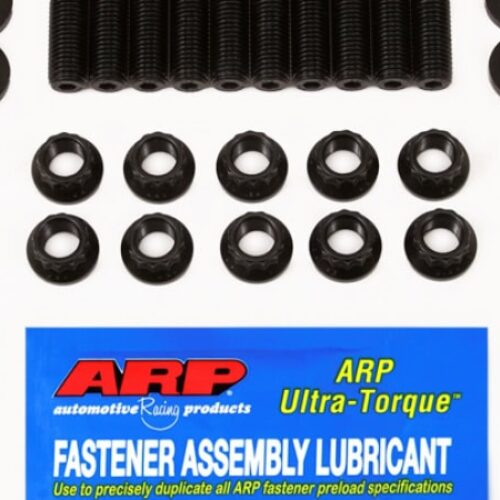
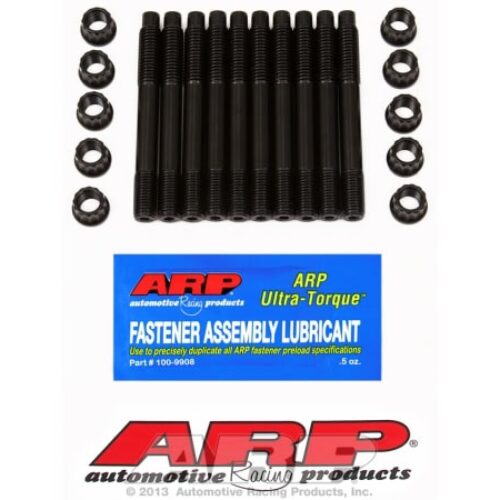
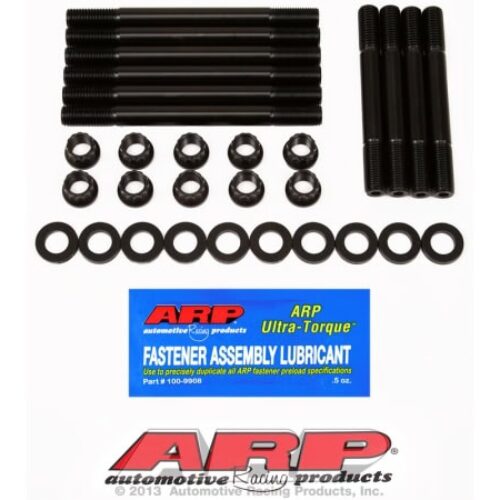
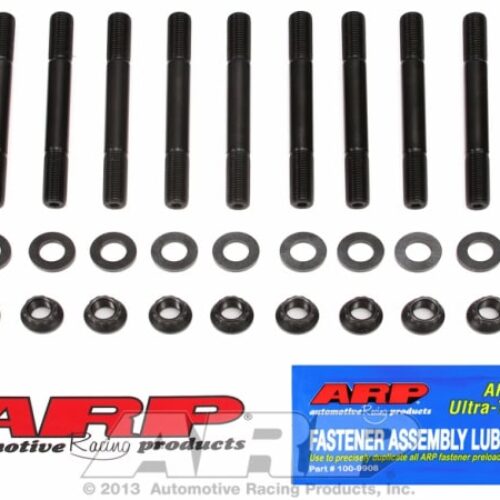
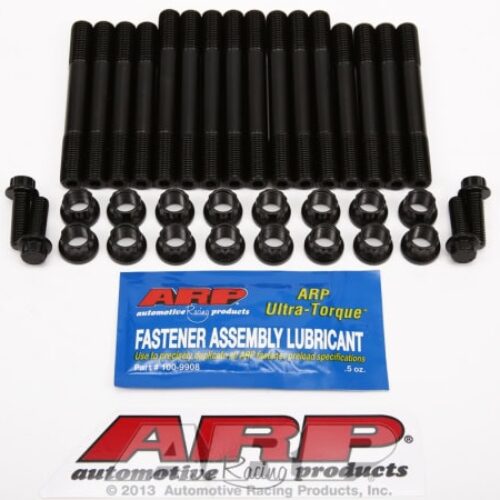
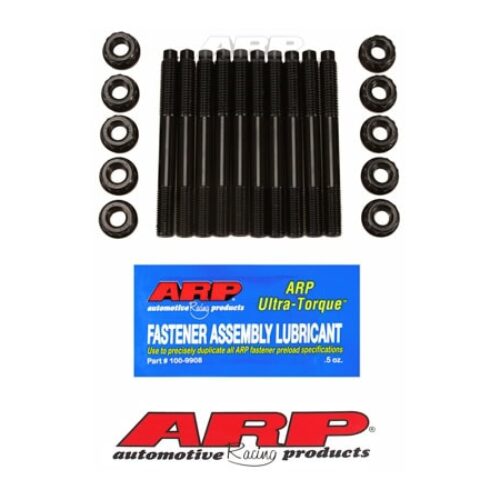

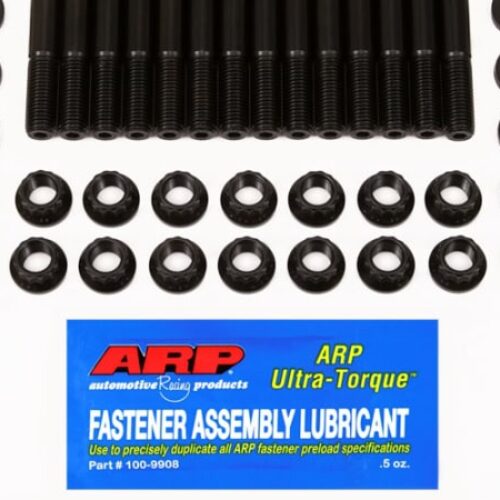

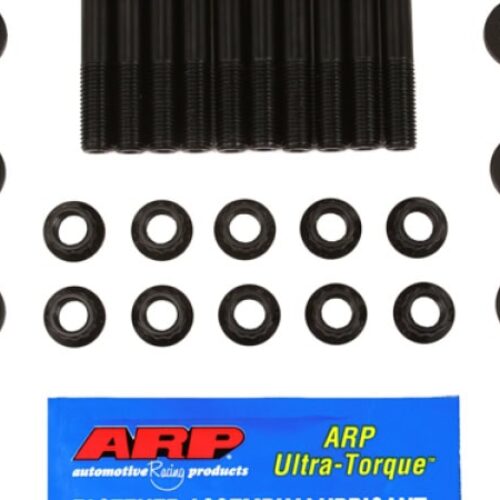
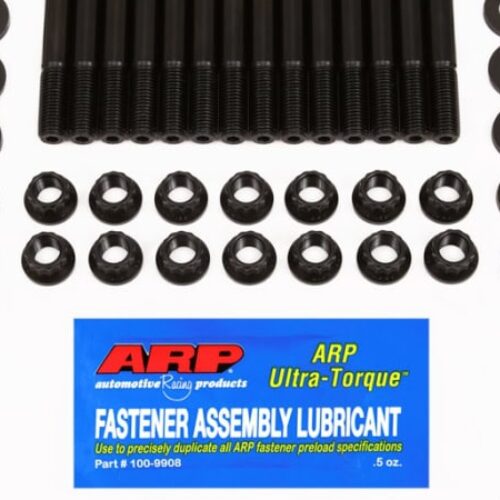
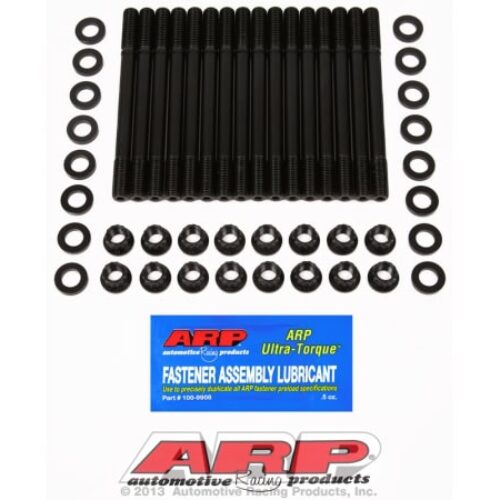
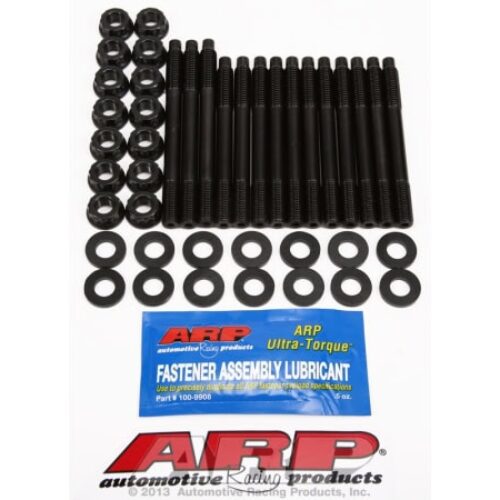
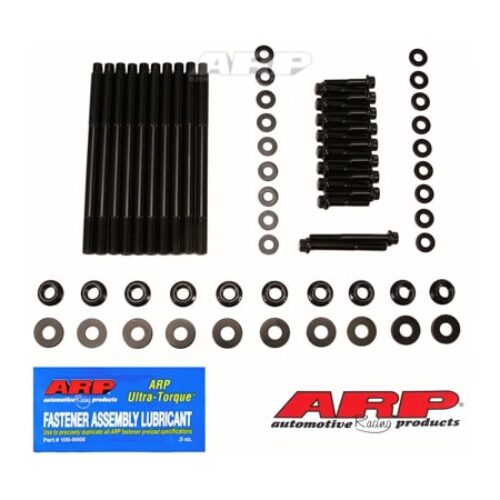
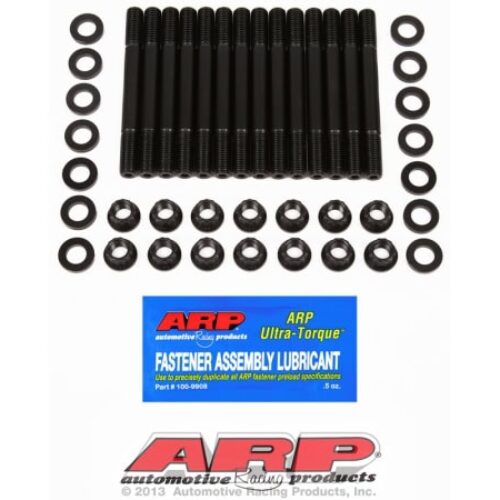
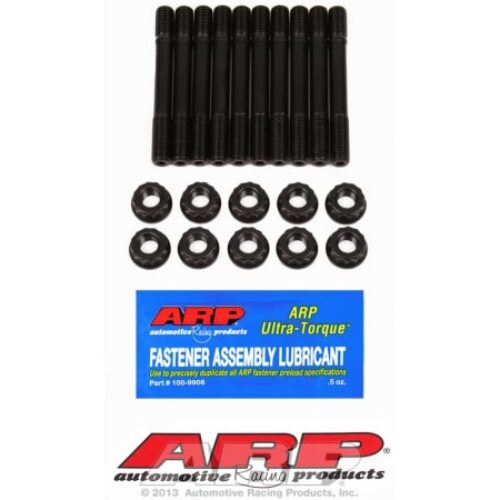
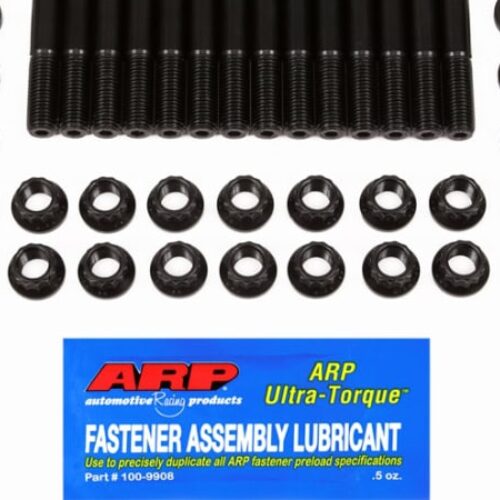
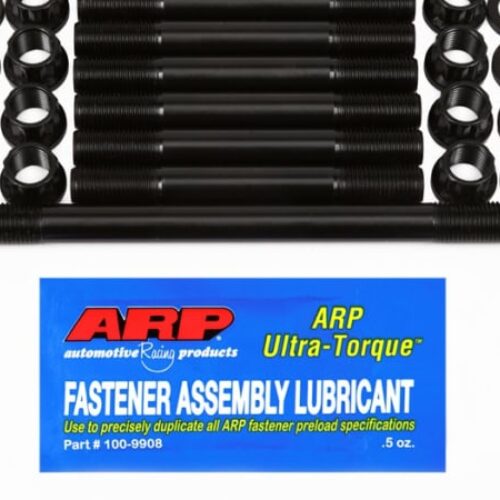
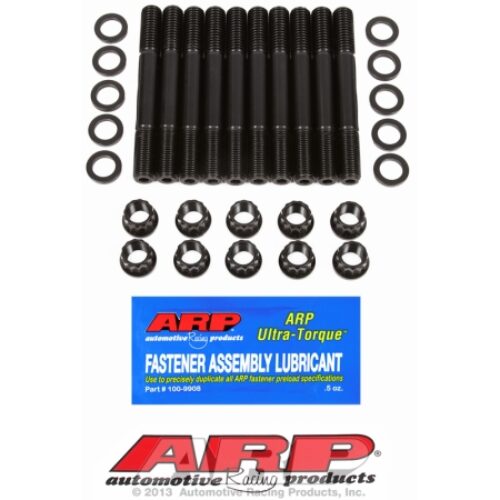


ARP Mopar All V8 W/Windage Tray Main Stud Kit


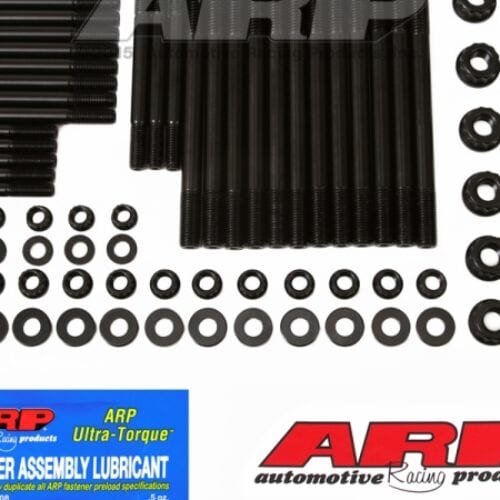
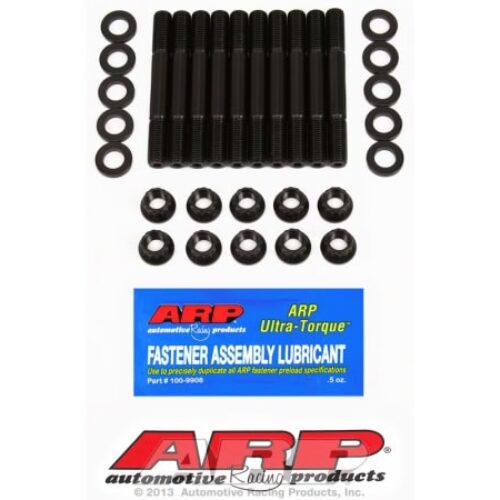
ARP 99+ Pontiac Supercharged 3800 L67 12pt Main Stud Kit


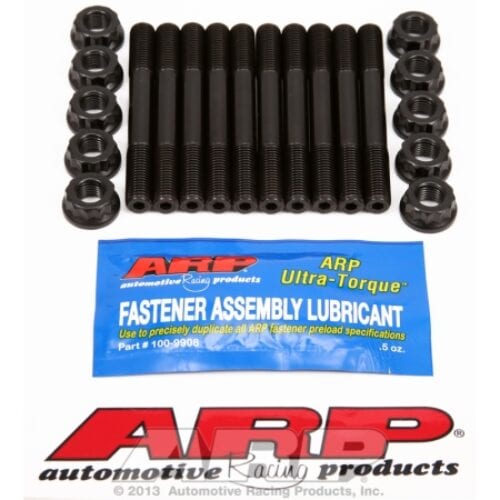
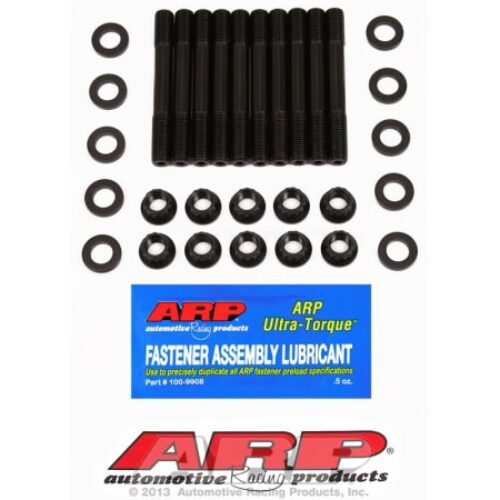
ARP Oldsmobile 350 Diesel 2 Bolt Main Bolt Kit

ARP Oldsmobile 350 Diesel 5.7 Main Stud Kit


Main Studs guide
Main studs and main bolts clamp the main bearing caps to the block, holding the crankshaft in line against combustion and inertia loads. The ARP kits in this section cover main stud and main bolt kits, cap side bolts for cross-bolted blocks and crankcase through-bolts, each listed by engine in the title.
Each firing stroke drives the crank towards the main caps, and at high speed the inertia of the moving parts adds loads of its own. If the clamp load falls short, a cap can shift fractionally on every stroke, which is known as cap walk. The parting faces then fret, the bearing bore loses its shape and the bearings take the damage.
A stud is screwed into the block by hand, and all the tightening happens at the nut. The block threads are not turned under load or worn each time the caps come off, and the clamp load is more even from cap to cap. Because the clamp load differs from the original, check the main bores with the studs tightened, and line-hone them where needed.
The listings set out these choices:
- Studs or bolts: stud kits bring the advantages above, while bolt kits upgrade the fastener and keep the original assembly method.
- Cap layout: kits suit 2-bolt or 4-bolt mains, splayed caps, strap caps or a single cap. Side bolts and through-bolts are listed where the block design calls for them.
- Sump and girdle: some studs are longer to mount a windage tray or a main girdle, and some kits are made for a particular sump layout.
- Material: mostly 8740 chrome moly or ARP2000, with a nickel-based superalloy for specialist use.
- Nuts and drive: 12-point or hex nuts in inch or metric socket sizes. Many studs have a hex socket in the end, such as 3/16 in, 5/32 in or 5 mm, for screwing them in.
Chase the block threads, then blow out the blind holes, as trapped oil or debris can stop a stud from seating fully. Screw each stud in by hand with a hex key, without torque. Lubricate the nut threads and faces with the specified lubricant, then tighten in the maker’s sequence and in steps.
Measure bearing clearances with the caps tightened before final assembly, then check crank end float and that the crank turns freely. Where a windage tray or girdle is fitted, confirm that it clears the rods and crank through a full rotation.

Store Information
TrackTool Factory
Sluispolderweg 7A
1505 HJ Zaandam
The Netherlands
KvK 97296902
BTW NL867990375B01
