Top brands in Brake Calipers



Showing all 40 resultsSorted by latest


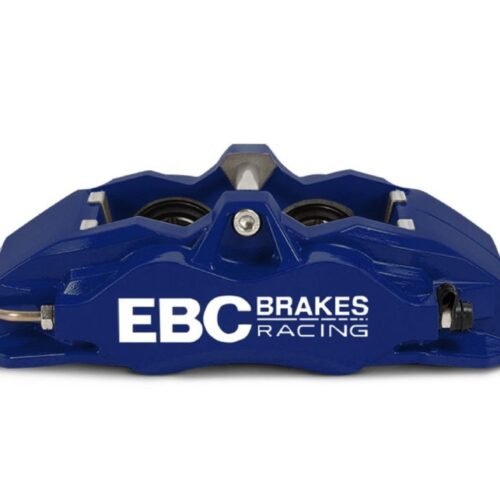
BC4101BLU-R – EBC Apollo-4 Brake Caliper; Blue – Leading Right
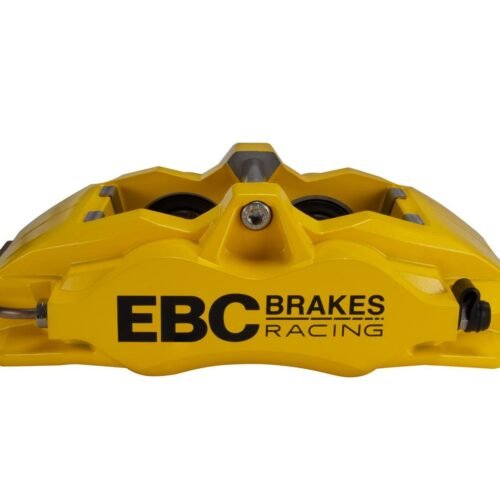
BC4101YEL-L – EBC Apollo-4 Brake Caliper; Yellow – Leading Left
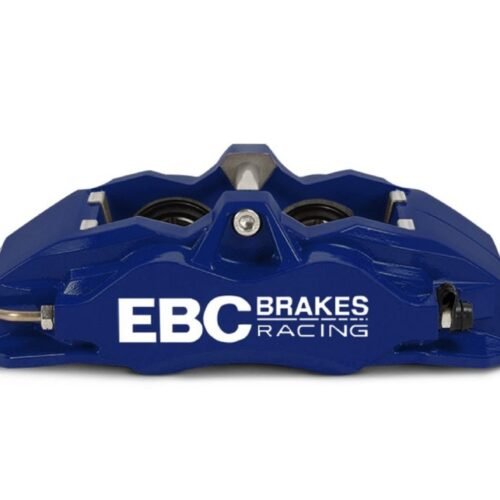
BC4101BLU-L – EBC Apollo-4 Brake Caliper; Blue – Leading Left
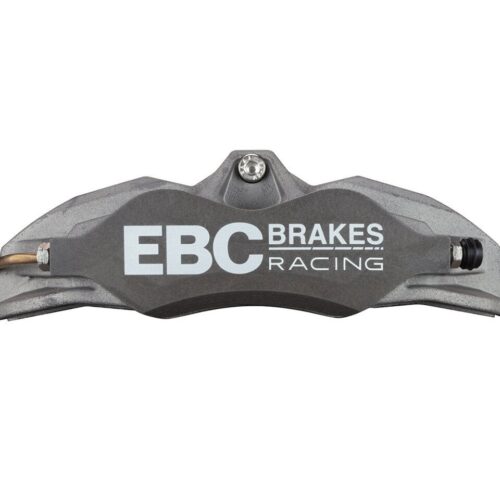
BC4101R-R – EBC Apollo-4R Brake Caliper; Anodized – Leading Left
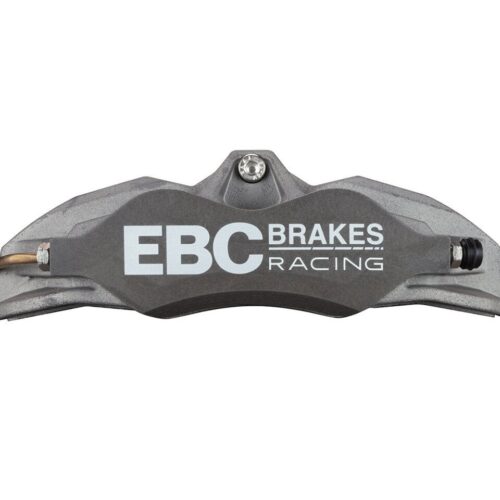
BC4101R-L – EBC Apollo-4R Brake Caliper; Anodized – Leading Left

BC4102YEL-R – EBC Apollo-4 Brake Caliper; Yellow – Trailing Right

BC4102YEL-L – EBC Apollo-4 Brake Caliper; Yellow – Trailing Left

BC4101YEL-R – EBC Apollo-4 Brake Caliper; Yellow – Leading Right

BC4102R-L – EBC Apollo-4R Brake Caliper; Anodized – Trailing Left

BC6104YEL-L – EBC Apollo-6 Brake Caliper; Yellow – Trailing Left

BC6101RED-R – EBC Apollo-6 Brake Caliper; Red – Leading Right

BC6101RED-L – EBC Apollo-6 Brake Caliper; Red – Leading Left

BC4102BLU-R – EBC Apollo-4 Brake Caliper; Blue – Trailing Right
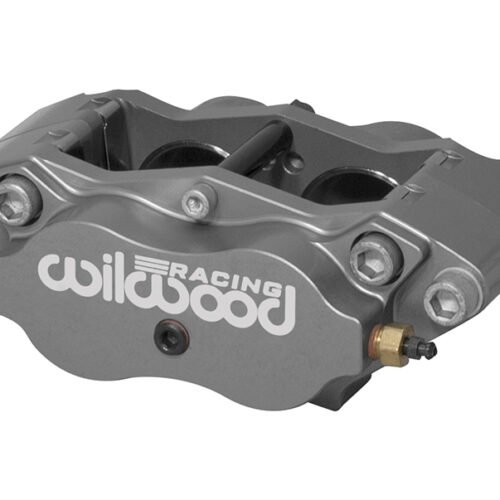
120-13405-SI – Wilwood Billet Narrow Dynalite Brake Caliper; Anodized – Radial Left & Right
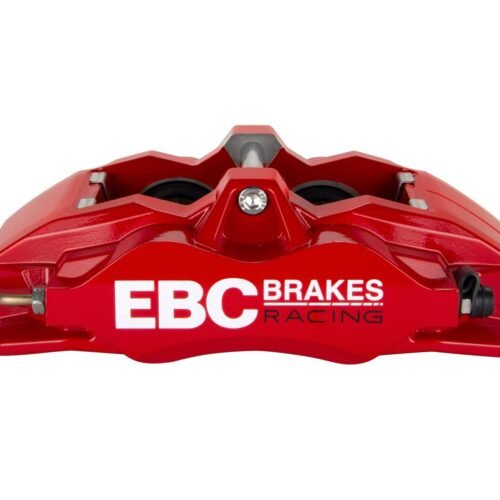
BC4103RED-R – EBC Apollo-4 Brake Caliper; Red – Leading Right
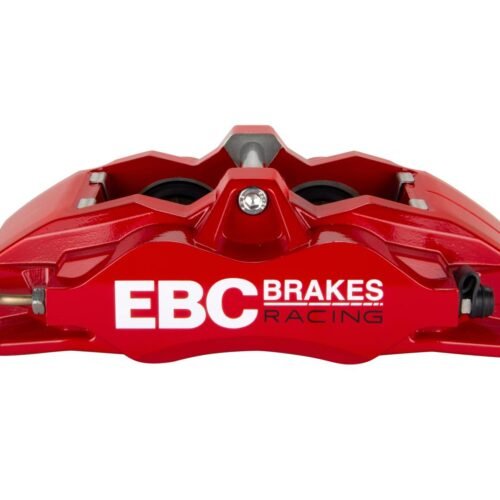
BC4103RED-L – EBC Apollo-4 Brake Caliper; Red – Leading Left
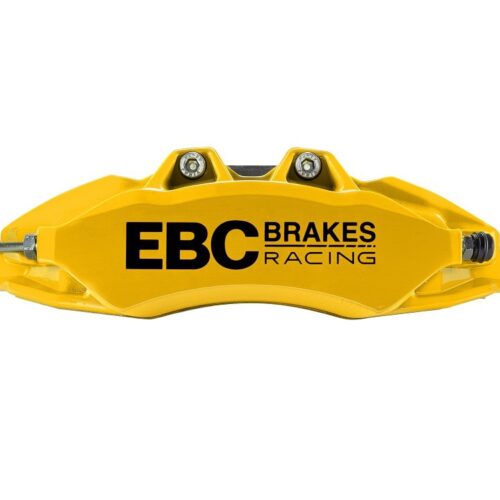
BC6101YEL-L – EBC Apollo-6 Brake Caliper; Yellow – Leading Left
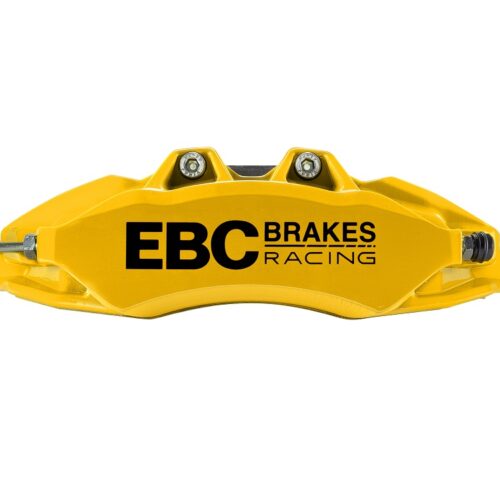
BC6101YEL-R – EBC Apollo-6 Brake Caliper; Yellow – Leading Right
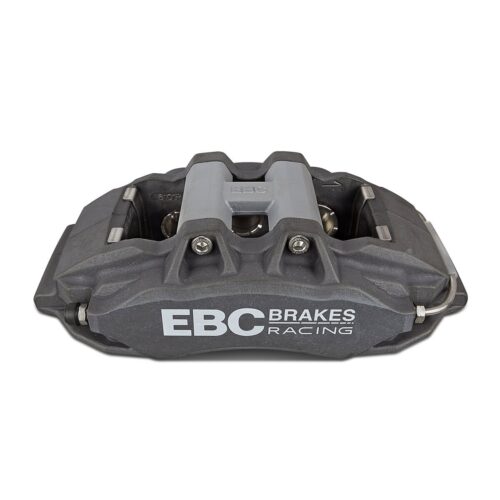
BC6104R-R – EBC Apollo-6 Race Brake Caliper; Anodized – Trailing Right

BC6104R-L – EBC Apollo-6 Race Brake Caliper; Anodized – Trailing Left

BC4102RED-R – EBC Apollo-4 Brake Caliper; Red – Trailing Right

BC4102RED-L – EBC Apollo-4 Brake Caliper; Red – Trailing Left

BC4102R-R – EBC Apollo-4R Brake Caliper; Anodized – Trailing Right

BC6104BLU-R – EBC Apollo-6 Brake Caliper; Blue – Trailing Right

BC6104BLU-L – EBC Apollo-6 Brake Caliper; Blue – Trailing Left

BC6104BLK-L – EBC Apollo-6 Brake Caliper; Black – Trailing Left
Brake Calipers guide
A brake caliper holds the pads either side of the disc and turns hydraulic pressure into clamping force. Aluminium multi-piston calipers in several colours sit alongside cast-iron calipers of OE type, each sold as a single caliper for one wheel.
Line pressure acts on the pistons, so the piston area on one pad decides how much clamping force a given pedal effort produces. More piston area clamps harder for each bar of pressure, but each millimetre of pad travel then needs more fluid, so the pedal can get longer. Changing calipers on one axle also moves the front-to-rear balance, so treat calipers, master cylinder and bias as one system.
In an opposed-piston caliper, pistons on both sides clamp the disc without the body sliding, and a stiff body flexes less, which firms the pedal. Staggered pistons, smaller at the leading edge, spread the pad load more evenly and reduce taper wear. Aluminium bodies are light and shed heat quickly, while cast iron is heavier but durable and common on original equipment.
Match a caliper on these points:
- Piston sizes: staggered sets such as 38.1/41.2 mm or 28.6/31.8/38.1 mm, and 45/45 mm on some cast-iron calipers. Compare the piston area on one pad, not both sides combined, with the old caliper.
- Mounting: axial (lug) mounts have bolts parallel to the axle; radial mounts have bolts pointing at the hub centre. Mounting centres such as 128, 140 or 152 mm must match the bracket.
- Disc size: where listed, the maximum disc diameter, such as 279, 332 or 355 mm, and the maximum disc thickness, such as 12.7 or 28 mm. A larger disc adds leverage, but the wheel must still clear the caliper.
- Position: most calipers are handed left or right and, where listed, leading or trailing, meaning ahead of or behind the axle line. The correct one puts the bleed screws at the top and the small pistons at the leading edge.
- Finish: red, blue, yellow, black or anodised.
Order a matched left and right, and pads to suit the caliper’s pad shape. Use mounting bolts of the specified grade and length, tightened to the stated torque, with thread-locking compound only where the maker asks. Check that the caliper sits centred over the disc, shimming radial mounts where needed, and that the wheel clears it with new pads.
Check flexible hose length at full lock and full droop. Bleed through every bleed screw, inner and outer where the caliper has both, and bed the pads in before hard use.

Store Information
TrackTool Factory
Sluispolderweg 7A
1505 HJ Zaandam
The Netherlands
Chamber of Commerce (KVK): 97296902
VAT: NL867990375B01