
Engine Internals
Cylinder Head Hardware
- 7 products
- 3 brands
- Ships from EU stock
- Cylinder Head Hardware guide
Top brands in Cylinder Head Hardware



Showing all 7 resultsSorted by latest
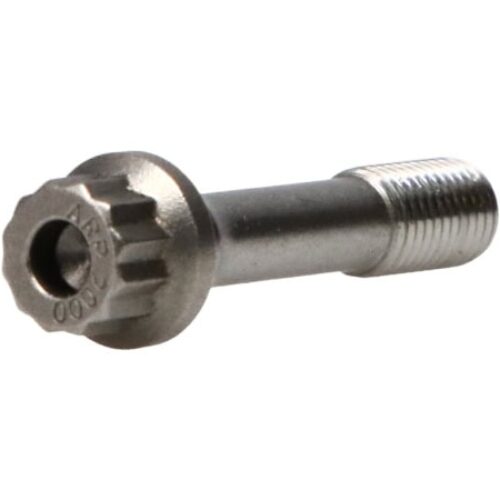


Boostline Conrod Bolt 3/8×1.500″ CA625+ -std Threads

Hybrid Racing- K-Series Cylinder Head Heater Pipe Plug
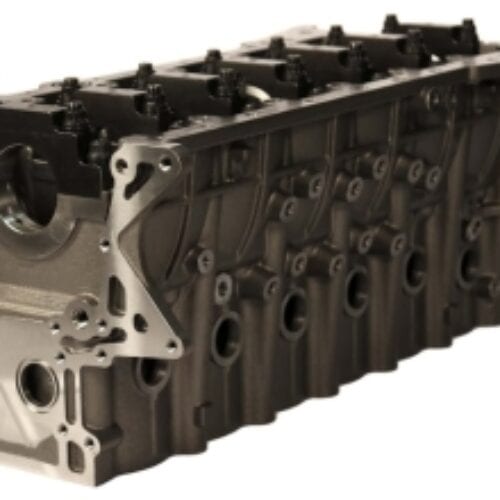
DART Head Stud Kit Toyota 2JZ 1/2″(S220)



Cylinder Head Hardware guide
Cylinder head hardware here means the high-strength fasteners and fittings of a built engine, at the head and in the bottom end. The range includes a 1/2 in head stud kit, conrod bolts in 3/8 in and 7/16 in diameters, and a plug for an unused heater pipe port.
A head stud clamps the gasket against combustion pressure by being stretched like a stiff spring. A larger diameter gives more clamp load at the same stress, which is why some race blocks are made for larger studs, such as 1/2 in. Conrod bolts face a harsher, cyclic load. At the top of the exhaust stroke, the inertia of piston and rod tries to pull the cap off, and that load rises with the square of engine speed.
If a rod bolt loses clamp, the cap joint opens, the shell loses its crush and can spin, and the rod may break. Rod bolts are therefore tightened by stretch rather than torque alone, because friction varies from bolt to bolt while stretch tracks clamp load directly.
Each listing names its size and material:
- Conrod bolts: 3/8 in or 7/16 in diameter, in lengths of 1.450, 1.500 or 1.600 in, with standard threads. Diameter and length must suit the rod, as they set thread engagement and clamp.
- Bolt material: two grades, a high-strength alloy steel and a nickel-based superalloy with more strength and fatigue life for highly stressed engines.
- Head studs: a 1/2 in kit for one engine, named in the title.
- Heater pipe plug: closes a coolant outlet on the head that is no longer used, for example after an engine swap.
Measure each rod bolt’s free length before fitting, then tighten it to the bolt or rod maker’s stretch figure with the specified lubricant and a stretch gauge. A bolt that has taken a permanent set beyond the maker’s limit must be replaced. New rod bolts can change the shape of the big-end bore, so have it checked and resized if needed.
Run head studs into clean threads by hand and tighten the nuts in sequence and stages with the kit’s lubricant. Seal the heater plug as its maker directs and check it for leaks once the engine is hot.

Store Information
TrackTool Factory
Sluispolderweg 7A
1505 HJ Zaandam
The Netherlands
KvK 97296902
BTW NL867990375B01
